

The tip is an end artery—cap it at 0.05–0.1 mL; guard glabella depth and volume too.
📚 Demystifying Nose Filler Side Effects · Series Table of Contents
1. Recognizing the Warning Signs
2. Vascular Emergencies
3. Making a Safe Treatment Decision
3.1 Volume & Treatment Area Guide (Current Article)
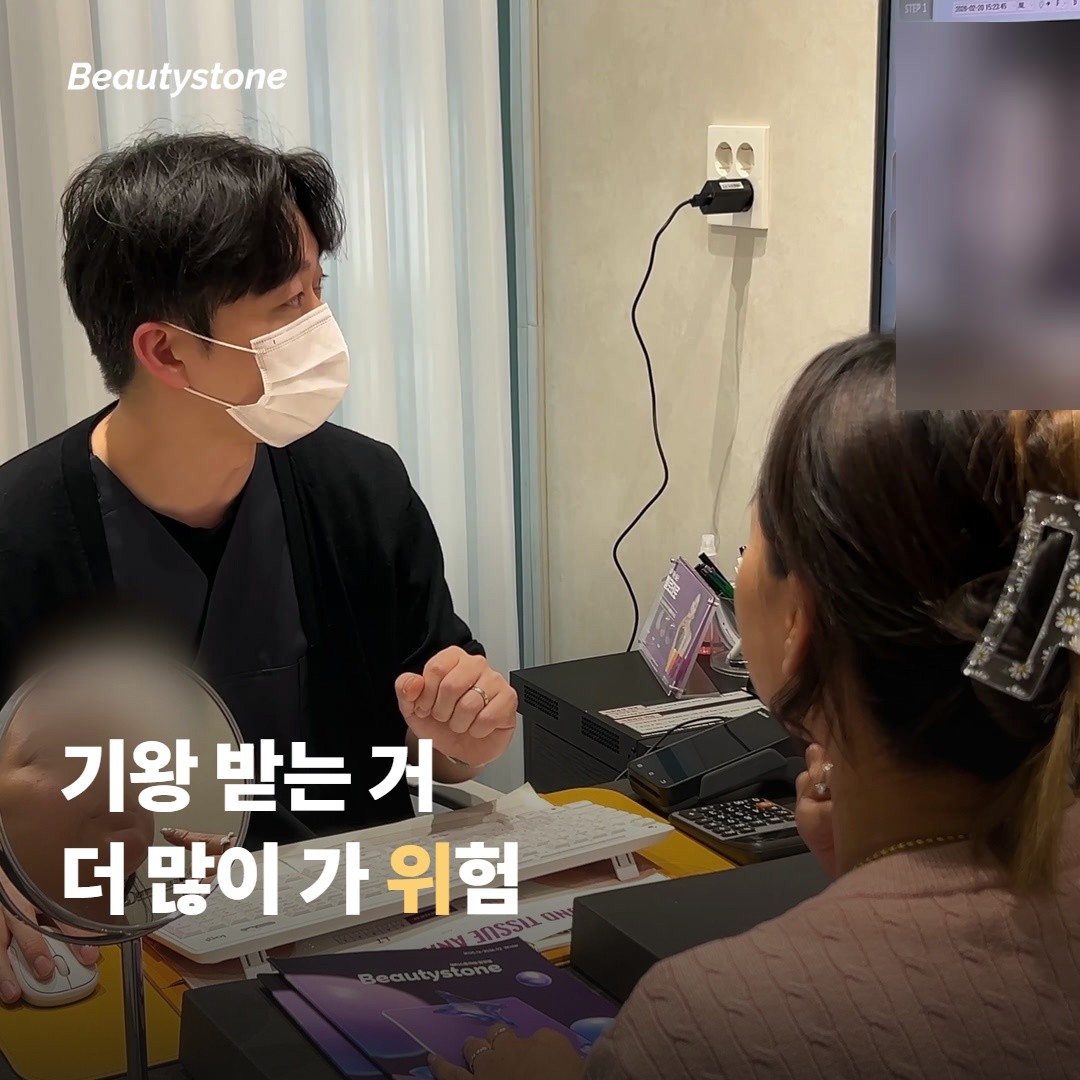
One of the most common requests we hear from clinical tourists is, "Since I'm already getting it done, please put in a little more." For other areas of the face, that can be a reasonable request—but the nose is different. The nasal tip and the glabella (between the eyebrows) have very strict "maximum volume limits," and exceeding these is the number one trigger for complications. Even if you don't get the perfect shape in a single session, that is completely fine. Staying safe means waiting 2 to 3 weeks and getting a touch-up.
Summary: Because the nasal tip is supplied by an end artery, injecting more than 0.05 to 0.1 mL at once causes compression, which can lead to necrosis. For the glabella, there is a risk of blindness due to retrograde flow from the supratrochlear artery to the ophthalmic artery. Trying to achieve the final look in a single session is the leading cause of side effects. Relying on touch-ups is the safest, most professional approach.
"Give me a little extra" is the most common mistake
During nose filler consultations, the phrase we hear most often is of course, "Since I’m already dealing with the pain and downtime, please complete the final shape all at once." We completely understand this feeling! However, unlike other facial features, trying to force a perfect look in one go instantly pushes you into the "high risk of complications" zone.
This comes down to the anatomical features of the blood vessels in the nose. As we explored in Part 2 of this series, the nasal tip is supplied by an end artery, meaning there is no collateral circulation, while the glabella connects directly to the ophthalmic artery. If too much filler is injected, the pressure on these blood vessels quickly exceeds safe limits.
Clinical Guideline: In our practice, we highly recommend aiming for only 80% of the final shape in your first session, then letting it settle before doing a touch-up 2 to 3 weeks later. Aiming for "100% right from the start" is risky, whereas the "80% now → touch-up later" path is the gold standard for safety. Knowing this workflow before you visit makes your decision-making much simpler and stress-free.
Nasal Tip — Never exceed 0.05 to 0.1 mL at once
The tip of the nose is the "dead end" of the nasal blood vessels. It is supplied by an end artery*, meaning if it gets blocked, there are no alternative arteries to bypass the blockage. Even a tiny excess of 0.1 mL can stop blood flow simply through external pressure.
Treatment Status | Safe Volume Limit | Treatment Approach |
|---|---|---|
First Session (Nasal Tip) | Within 0.05 to 0.1 mL | Micro-injections in careful steps |
Touch-Up (2 to 3 weeks later) | Within 0.05 mL | After checking tissue pressure limits |
Cumulative Limit (Within 3 months) | Within 0.2 mL | Use new target points for any excess |
The temptation to think "just a little bit more will lift the tip beautifully" is a common trap for both practitioners and patients alike. The safest and most professional path is to strictly adhere to the clinically recommended safety limits without forcing the issue.
* End artery: An artery that is the sole source of oxygenated blood to a specific tissue area, lacking lateral branches or collateral circulation. If blocked, the entire region it supplies is deprived of oxygen with no alternative routes. Typical examples include the nasal tip, fingertips, and retina. Due to this delicate anatomy, the nasal tip can easily become compromised by external pressure from even minor amounts of filler.

Glabella — Safeguarding both depth + volume
The glabella (the area between your eyebrows) connects directly from the supratrochlear artery to the ophthalmic artery. An occlusion here carries a risk of blindness due to blockage of the retinal artery. This is why we must carefully manage both the depth of injection and the volume used.
- Depth: Avoid the superficial layer where the arteries run, and inject directly above the periosteum* (the deepest level). Using a cannula is highly recommended.
* Periosteum: The thin, protective membrane covering the bone. In areas like the glabella and nose, blood vessels are distributed in the superficial and middle layers, making the periosteum (directly above the bone) the safest depth for placement as it is nearly devoid of major arteries. Placing filler directly above the periosteum is the standard safety technique for the glabellar and bridge regions.
Volume: Stay within 0.2 mL per session, typically divided into 0.1 mL on each side.
Technique: Negative pressure aspiration is essential. Always pull back slightly on the syringe before injecting to ensure no blood enters.
For the glabella, it is generally much safer to aim for a subtle softening of fine lines rather than trying to aggressively smooth out deep, structural


Lifting
시크릿RF 미세바늘 리프팅, 흉터와 넓은 모공까지 한 번에 잡을 수 있는 걸까요?
시크릿RF 가 미세바늘과 고주파를 함께 쓰는 방식과, 흉터·모공·탄력을 같은 원리로 보는 이유를 짚어봐요.

Contouring & Volume
쥬베룩 볼륨은 꺼진 볼과 팔자 주름을 콜라겐으로 채우는 시술이라는데 정말 그럴까요?
쥬베룩 볼륨이 일반 필러와 어떻게 다른지, 꺼진 볼과 팔자에 콜라겐이 어떻게 작용하는지 짚어봐요.

skin
눈 밑 RE2O 스킨부스터는 꺼짐과 다크서클, 잔주름까지 한꺼번에 볼 수 있을까요?
눈 밑 다크서클이 색소·혈관·꺼짐으로 나뉘는 이유와, RE2O 스킨부스터가 얇은 피부를 두껍게 만드는 방식을 짚어봐요.

skin
잡티와 기미가 섞여 있을 때 레이저 토닝·피코·IPL 은 색소별로 뭐가 다를까요?
레이저 토닝·피코·IPL 이 색소를 다루는 방식과 잘 맞는 색소 유형이 어떻게 다른지 잡티·기미 중심으로 짚어봐요.

Lifting
40대에 처음 리프팅을 알아본다면 HIFU 와 고주파 중 뭐부터 시작하면 좋을까요?
40대 첫 리프팅에서 HIFU 와 고주파의 작용 깊이 차이와 느낌·회복의 차이를 피부 상태 중심으로 짚어봐요.

Lifting
Why Ultherapy PRIME Targets the SMAS Layer
Why does Ultherapy PRIME target the SMAS layer? Here's why that depth matters for lifting.